Tuesday, March 29, 2011

Building an Icosahedron (D20: 20-Sided Die)

Do you know how to build a 20-sided platonic solid?  It's not hard.
You need: 20 equilateral triangles cut out of paper or card stock and some tape.

First tape one edge of each of three triangles to the edges of another triangle to create a large triangle from three of the original pieces.  Repeat.

Next, tape a pair of triangles together, edge to edge.  Repeat five more times.
You should have 2 large triangles and 6 pairs of triangles.
* * * * *

Now, tape one pair of triangles edge-to-edge with the corresponding edge of each of the three single triangles you added in step one.  See diagram for an example.
* * * * *

Tape the edges of those triangle points to the closest edge.  Do this six times, three times on each configuration.  You'll end up with two domes that have staggered edges.
* * * * *
Finally, tape the dome-like sides together so that the points fall into the dips along the edges.

Tada!  You've done it!  Try it with paper mache, fabric, or whatever you'd like!  I plan to make an enormous throw pillow for one of my daughters who is a participant in two different D&D gaming groups.  Also, she likes squishy things.

Thursday, March 24, 2011

Keep Calm and Tardis On

The Keep Calm Carry and Carry On poster was developed during WWII to boost the morale of the British people.  It featured a symbol of the crown to indicate that the king was asking for solidarity.  This poster was never distributed.  Most of them were destroyed.

A book seller from Barter Books found one of the surviving posters, had it framed, and put it up in his shop where customers admired it.

You can create your own version of the sign, as I have done here, by visiting the Keep Calm-O-Matic.

Potion Ingredient Jar Set

These old jars were purchased off ebay as they are, with distressed lids.  Because I don't know what these bottles originally held, they couldn't be used for any spices that might go into food so they can only be used as props.  I filled each with something that looked like an ingredient and printed up labels on sticker paper.  I used a font that I liked to print the name of the contents and went over this with a permanent brush-tipped marker to give them a hand-quilled look. A basic black border is all that these required.  Anything else would have seemed like too much.  The ingredients and their labels are as follows:
  • Dried Doxy Venom: turbinado sugar
  • Beetle Eyes: black dragees (bought in a cake/candy decorating shop)
  • Dessicated Rat Brains: bulk-purchased dried garbanzo beans
  • Bowtruckle Skin: thin bark stripped off fallen branches
  • Asphodel Leaf: tarragon
  • Knarl Quills: pine needles cut to roughly equal lengths

Monday, March 21, 2011

Knotwork Potion Bottle

The purple started out as an eight-sided spice jar.  I started out by covering it in a layer of polymer clay.  To accomplish this, I rolled out the clay and covered the jar with the single sheet.  Then I poked this layer with pins.  Using my hands, I pushed the clay up against the jar tight while excess air was pushed out through the holes.  Then I smoothed over the surface to hide the holes.

I stamped out the design on another piece of clay and attached it to the original piece before firing.  To do this, I rolled out the piece of clay and dusted the surface with cornstarch.  Then I dusted the surface of the stamp with more cornstarch and pressed it into the clay.  I blew off as much cornstarch as I could before adhering the stamped section using a little liquid polymer clay.  I smoothed down the edges of the added piece using my finger. 

The bottle was then baked and the stamped section was later highlighted by covering it in black acrylic paint thinned with a little water and cleaning it off the top surface before it dried.  The neck was wrapped in twine and the twine ends finished with beads.  A brown polymer clay "tag" is also hung from the neck.  I intend to replace this with a piece of wood labeled using a wood burner.

Sunday, March 20, 2011

Erumpent Horn Bottle

This magical ingredient bottle looks like a stick of dynamite because it contains something just as destructive, an Erumpet Horn.  I started out by covering this tall bottle in cleaned egg shells.  Working in sections, I brushed some glue in a small area of the bottle and pressed down a large piece of eggshell.  Then, using a toothpick, I spread out the pieces on the sea of glue to create a sort of mosaic pattern with tiny gaps.  This process was repeated until the entire bottle was covered.  Once dry, I painted over the entire surface and then antiqued it using acrylic paints and glazes.

Then, I drilled a hole in the original screw-on lid and covered it in polymer clay (sans the hole) and baked it hard.  To create the fuse, I strung beads and pulled the strand through the hole, securing it from the inside by tying a knot around a bead inside the lid.  The label was made on my computer, printed onto ivory paper and the front side rubbed with a candle.  This gave it a protective coat and made it appear old.  The complete text says: 
Potentially Explosive!
Do not use around small children, farm animals, empty fields, shoes, acorns, wands, fires, cheese, owls, gold, silver, copper, glass, ceramics, iron, alcohol, toothpaste, certain species of rainforest toads, toenail clippings, or blood.
Purchaser takes this into custody at his or her own risk.
Have a pleasant day!

Saturday, March 19, 2011

Home is Where the Hearthstone Is

I made this World of Warcraft hearthstone plaque for my husband.  It was a pretty simple project involving creating a one-time mold using modeling clay and hardware store plaster.  Once it was set, I used a blue fabric paint to color the jewel-tone engraving.  I plan to make more but each will be slightly different due to the modeling clay molding process.  Check out the instructions and make one of your very own!

Thursday, March 17, 2011

Skiving Snackboxes

 
My family loves the idea of the Skiving Snackboxes created by the Weasley twins in the Harry Potter books.  So I set out to create muggle versions of the treats within.  Since I am a muggle and incapable of creating the magic effects of the candies, I instead created "taste effects" by pairing some unusual flavors in these two-part confections.  To find out how I made these, visit the the directions I posted on Instructables for each.
Fever Fudge (upper left) -- spicy hot / vanilla
Puking Pastilles (upper right) -- garlic and anise / mint
Fainting Fancies (lower left) -- carrot and cumin (unsweetened) / sour lemon
Nosebleed Nougat (lower right) -- tart strawberry and balsamic / banana

Wednesday, March 16, 2011

More Pi Pies

Mini Pie Pi
I baked this Mini Pie Pi display for Pi Day.  The crust on them is really nice.  It's kind of like a cookie.  It holds up to being sealed in an air-tight container without turning soft or gooey.

I entered this and my Spherical Pie into the Instructables Pi Day Contest this year.  The entries include several displays of mini pies but mine was the original.  If you like these concepts, I could really use the votes!

Tuesday, March 15, 2011

Gold Potion Bottle

This is the first in my series of potion bottles, created out of a variety of elements.  I use a lot of polymer clay but I've been known to use other substances including egg shells to create the look I'm after.

The base is a clear glass Christmas ornament.   I bought the cork at my local hardware store from the bulk bins.  The hardware store's bulk bins have inspired a number of projects of mine.  I covered the ornament in gold polymer clay by carefully pressing pieces of clay all over the surface and smoothing out the clay as I worked.  This was baked and other clay embellishments were added using liquid polymer clay to bond the baked and fresh pieces:

  • A twisted rope of clay formed into a circle allows it to stand up.  Another was added to the neck of the bottle.
  • A slightly different shade of gold polymer clay was rolled out, coated with cornstarch, stamped with a cornstarch dusted rubber stamp, and placed in the center before baking on the clay.  (Once baked, I was able to rinse off the cornstarch which worked as a mold release.) 
  • I added a silver-backed flat glass marble made using my Faux Gemstone technique. 

Monday, March 14, 2011

Pi Day - Spherical Pie

It's Pi Day!  Today we celebrate the most amazing mathematical constant ever discovered.  To properly enjoy Pi, one must have pie.  If a circle is symbolic of pi, then a sphere is the epitome of it.  So I created a spherical pie.

To see step-by-step details and pictures of my first spherical pie, go to my Instructable: Spherical Pie


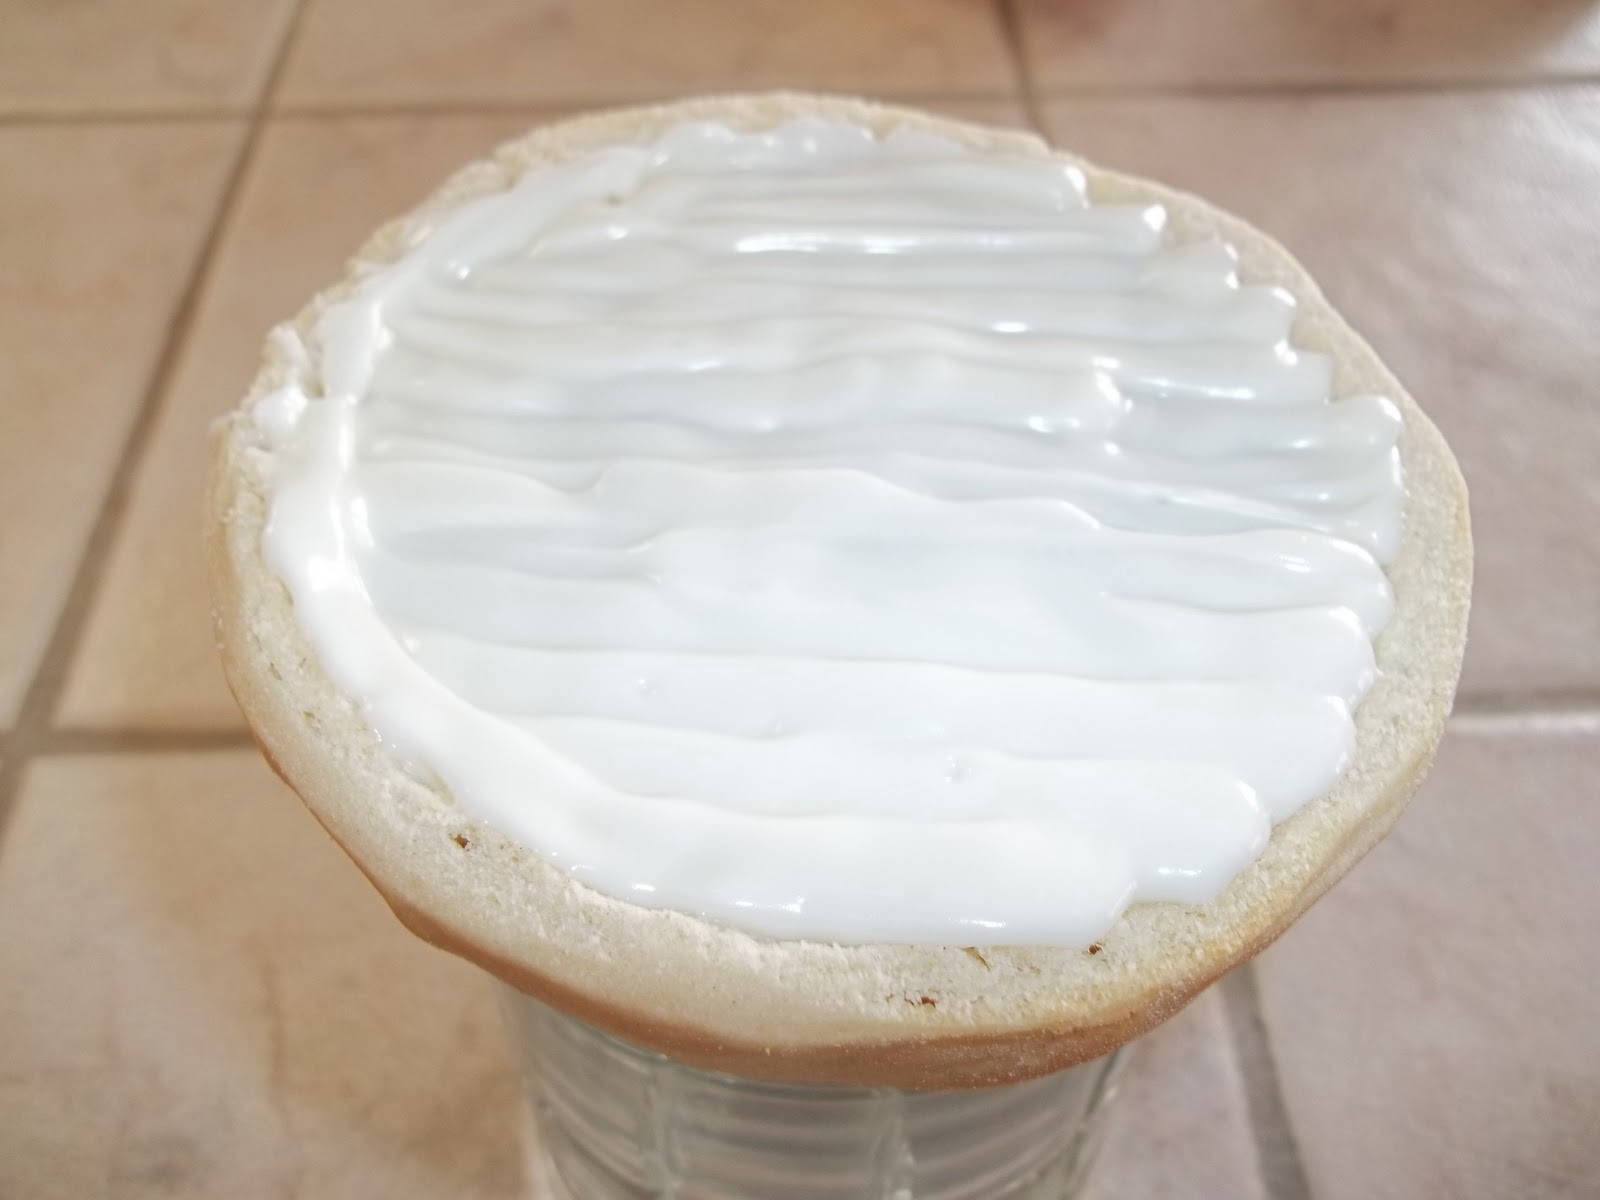
To create it, I used a Wilton Sports Ball pan.  This pan has two half spheres and two ring stands.  It is intended to be used to bake a round cake but, instead, I formed a crust around it.  Once baked, I filled the crust and cemented it together with white chocolate.

The trick to to create a barrier on one side of the filled crust by either securing a disc of cooked crust with the same chocolate that will be securing the two pieces together, or by making a chocolate disc and securing it to the crust on the inside.  Allow the chocolate to solidify before continuing and assembling the sphere.


Then pipe a thick ring of melted chocolate, pick up the side with the barrier piece and place over it.  Cool so the chocolate equator sets and you're good to go!

To cut the pie, push a knife into the chocolate equator and twist to pop it apart.  Then start the cuts with kitchen scissors and push the knife through to divide the pieces.

Tuesday, February 8, 2011

Save Undershaw!

Undershaw in 1897
Undershaw, the home designed and built by Sir Arthur Conan Doyle for his ailing wife, is due to be redeveloped into upscale terraced homes. The Save Undershaw Preservation Trust needs the attentions of those who would help save this historic Edwardian home and allow it to be restored to its grandeur as a place of historic and literary significance for generations to come.


Undershaw Today
 This home's potential fate is just one example of today's develop-at-will pattern and how we are allowing our history to be eroded before our very eyes until we can't remember, let alone protect, those things that have enraptured us for generations.  Our historic past cannot be brought back to life once it has been destroyed for a few dollars. 

Friday, February 4, 2011

How to Stop Being (As) Afraid of the Dark

This is a simple trick to help a child (or anyone) who is afraid of darkness at bedtime.  Utilizing a very old pirate technique, you can prepare yourself for darkness and/or a sudden ninja attack under a starless sky.

When I was a kid, I was afraid of the dark.  Anything could be happening in darkness.  A mindless zombie could be stumbling toward me.  A demon could be clawing up from the reaches of Heck and discover the  passageway between the netherworld and my bedroom closet.

This technique is in keeping with my own geeky "lets learn something" (or "teach a child to fish rather than the location of the local fish market") parenting philosophy.  Certainly, there are complex psychological issues at play here but a simple fear of darkness may be aided by this technique. Most important is the fact that you are acknowledging your child's fear and helping him or her understand and use his own body processes to help him adapt to the situation. It's impossible to promise you will always light up the dark but it is possible to help a child understand how his eyes adjust to it.


You Need:
One Kid
One Eye Patch


Explanation
Explain to the child the purpose behind pirate eye patches.  They were not simply a fashion accessory or a means to cover the an empty eye socket.  Eye patches enabled people to keep one eye adapted to darkness at all times.

Once a person has been in the dark for 20-30 minutes, their eyes adjust to the darkness.  For pirates, being on the deck of a ship with eyes adapted to the sunlight meant having very poor vision when going below deck where light was scarce.  Because they couldn't simply flip a switch, they kept one eye ready for the dark by keeping it in the dark--behind an eye patch.

Application
Experiment with the eye patch.  Allow the child to wear it over one eye for at least 30 minutes.  Explain that the uncovered eye is the "light" eye (adjusted for light) and the covered eye is the "dark" eye (adjusted for darkness).  Keep the child in an area with bright light to ensure that the contrast between the light-adapted and darkness-adapted eye is as great as possible.  Then take him or her into a room that can be darkened.  Assure him that you are right there and hold hands or sit next to the to make him comfortable.

Then turn off the lights and have the child take off the patch.  Have him open one eye at a time, back and forth, and discuss his impressions.  Take it very slowly.  There may be little or no improvement in his fear.  Ask how much he can see with both eyes.  The "light" eye will make the room appear almost entirely dark while the "dark" eye will enable him to see shapes and discern the major features of the room.  This is what the darkness looks like after adjusting.  Not so bad, is it?


The difference between light-adapted and darkness-adapted eyes is easier to see when compared immediately.
Putting Theory Into Practice
Instead of simply convincing the child that his or her eyes will adjust to darkness at night, make the adjustment to darkness instantaneous by having the child wear an eye patch at least 30 minutes before bedtime each night. Take it slowly.  The child may not be ready for total darkness but may be willing to try it briefly or may allow for less illumination than before.

When the child goes to bed, have him or her take off the eye patch just as the lights are extinguished.   Explain how he should close his "light" eye and use the "dark" eye to see better in the dark until the "light" eye has adapted.  Then remind him to compare the vision of each eye while the other is closed and see the contrast.  This might help alleviate some fears of the dark.

The eye patch should come off before bed, but only just before.  You don't  want a strap on a child's head at night.  The elastic can slip down around a child's neck while in bed so it should be completely removed.  Besides, once the lights are out, there is no point to wearing it anymore.

Good luck!  At the very least, your child will understand a little more about human biology.  For further information that older children may be interested in, and an explanation how consumption of vitamin A is important in eye adaption to light conditions, you may also want to refer to this article:  "How Eyes Adjust to Darkness."

Thursday, February 3, 2011

Recessed Hangers for Poured Plaster Pieces

This is a simple method for creating a recessed mounting system for flat-back plaster objects.  The resultant hangers will allow the objects to hang flat against a wall.  Hanging wire is embedded in modeling clay before being pressed into wet plaster.  The clay is later removed and the result is a cavity with a recessed hanging wire to accommodate nails or other hanging assemblies.

I used this technique in my World of Warcraft Hearthstone Plaque and Chalkboard Conversation Heart.

loading...
You Need:
Modeling Clay*
Wire for Hanging (non-rusting like copper or aluminum; sized to hold the weight of your finished product)
Plaster mold
Plaster - mixed as directed

*This MUST be traditional modeling clay or Plasticine, not Play-Doh or similar play clays.  Play-Doh is water-based.  It tends to absorb moisture out of the plaster and turn into a big, gooey mess that can't be pulled out of the cavity easily.

Sizing
Decide how deep you want the cavity to be.  You probably don't want the cavity to be any deeper than half the full depth of the object.

Determine how wide you want the cavity to be.  It should be fairly wide, allowing you to center the object when it hangs.  This is especially important with unsymmetrical objects because you won't know where the center of gravity might be.  Add an extra inch or more (depending on the size of your object) to this width and cut your wire to length.

The cavity should also be sufficiently tall, so the object hangs off the wire, not the top of the cavity.

Create The Hanger
 
Next you simply need to embed your wire in clay that fits the dimensions of the cavity in which the wire will be placed.  Make sure your wire ends are poking out.  I like to curl or bend these so the plaster "grips" it better.

Installation
Pour your plaster piece, tap out air bubble and immediately place this assembly in the back, roughly centered vertically and above the center horizontally in the thickest section you can find. Make sure you embed the wire edges in the plaster.
  

Once the object has set, use toothpicks or other tools to dig out the clay. Finish the piece as you'd like and hang from your wire.

Wednesday, February 2, 2011

Amy Lee Radigan, Nerd Girl Extraordinaire

I love this video.  It's the modern anthem of misunderstood geek girls of every era whose fandom and enthusiasm for people like famous mathematicians or obscure fantasy and sci-fi heroes completely perplexed their friends.


Tuesday, February 1, 2011

Chalkboard Conversation Heart

I recently posted this Chalkboard Conversation Heart project on Instructables.  This wall hanging is poured plaster molded using a combination of craft foam and modeling clay.  The link to the project, including step-by-step directions, is here.


A few years ago, I made custom conversation heart candies following the directions from Evil Mad Scientist.  The process was fun.  I put some engineering and trade terms on the hearts for a good laugh.  This year, in keeping with the conversation hearts Valentine tradition, I wanted to make a large sign (or several) that looked like the candy.


Plaster seemed to be the perfect medium for my project because I wanted to make the hearts nice and thick without having to resort to cutting intricate designs out of a huge chunk of wood.  Once I had resolved to pour plaster, I set out to find the perfect mold.  I had no luck.  Soap molds, cooking molds, etc. all had some kind of weird lip or edge.  I even considered using a box from Valentine's chocolates but none of them was exactly right (for which my waistband is grateful).


 I've created temporary molds before, usually destroying the mold in the process.  However, this was the first time I've tried to construct one out of craft foam and I hoped that the mold could be reused.  The foam surface, I reasoned, would give a nice matte finish to the plaster and that was the ideal surface finish on which to use a gritty chalkboard paint.  Modeling  clay was used to temporarily "mortar" the pieces together and the mold seemed fairly solid.  I just had to make sure I used plenty of clay and pressed it around the edges well to seal he gaps.  As you can see, the mold worked!

Originally, I intended to simply paint my heart and stamp a phrase onto it.  However, I wasn't sure what message to use.  I wanted to be trendy but I also didn't want to have to repaint it every year to keep it modern.  So I decided to use colored chalkboard paint which would allow me to add new phrases anytime I wanted.  Thanks to Martha Stewart's instructions for custom colored chalkboard paint, I was able to create a durable finish with a small bottle of acrylic craft paint and some tile grout.


For full details, including pictures, please visit my Chalkboard Conversation Heart Instructable.